Cricut has recently introduced a new feature called “Create A Sticker” in Design Space.
In the past, to create a print then cut sticker with Cricut Design Space, we used to utilize the offset feature. However, Cricut has now introduced a new feature that makes it even easier to accomplish this. To learn how to use this new feature, you can watch the short video I created here.
It really is simple.
- Upload your design and add it to your canvas in Design Space
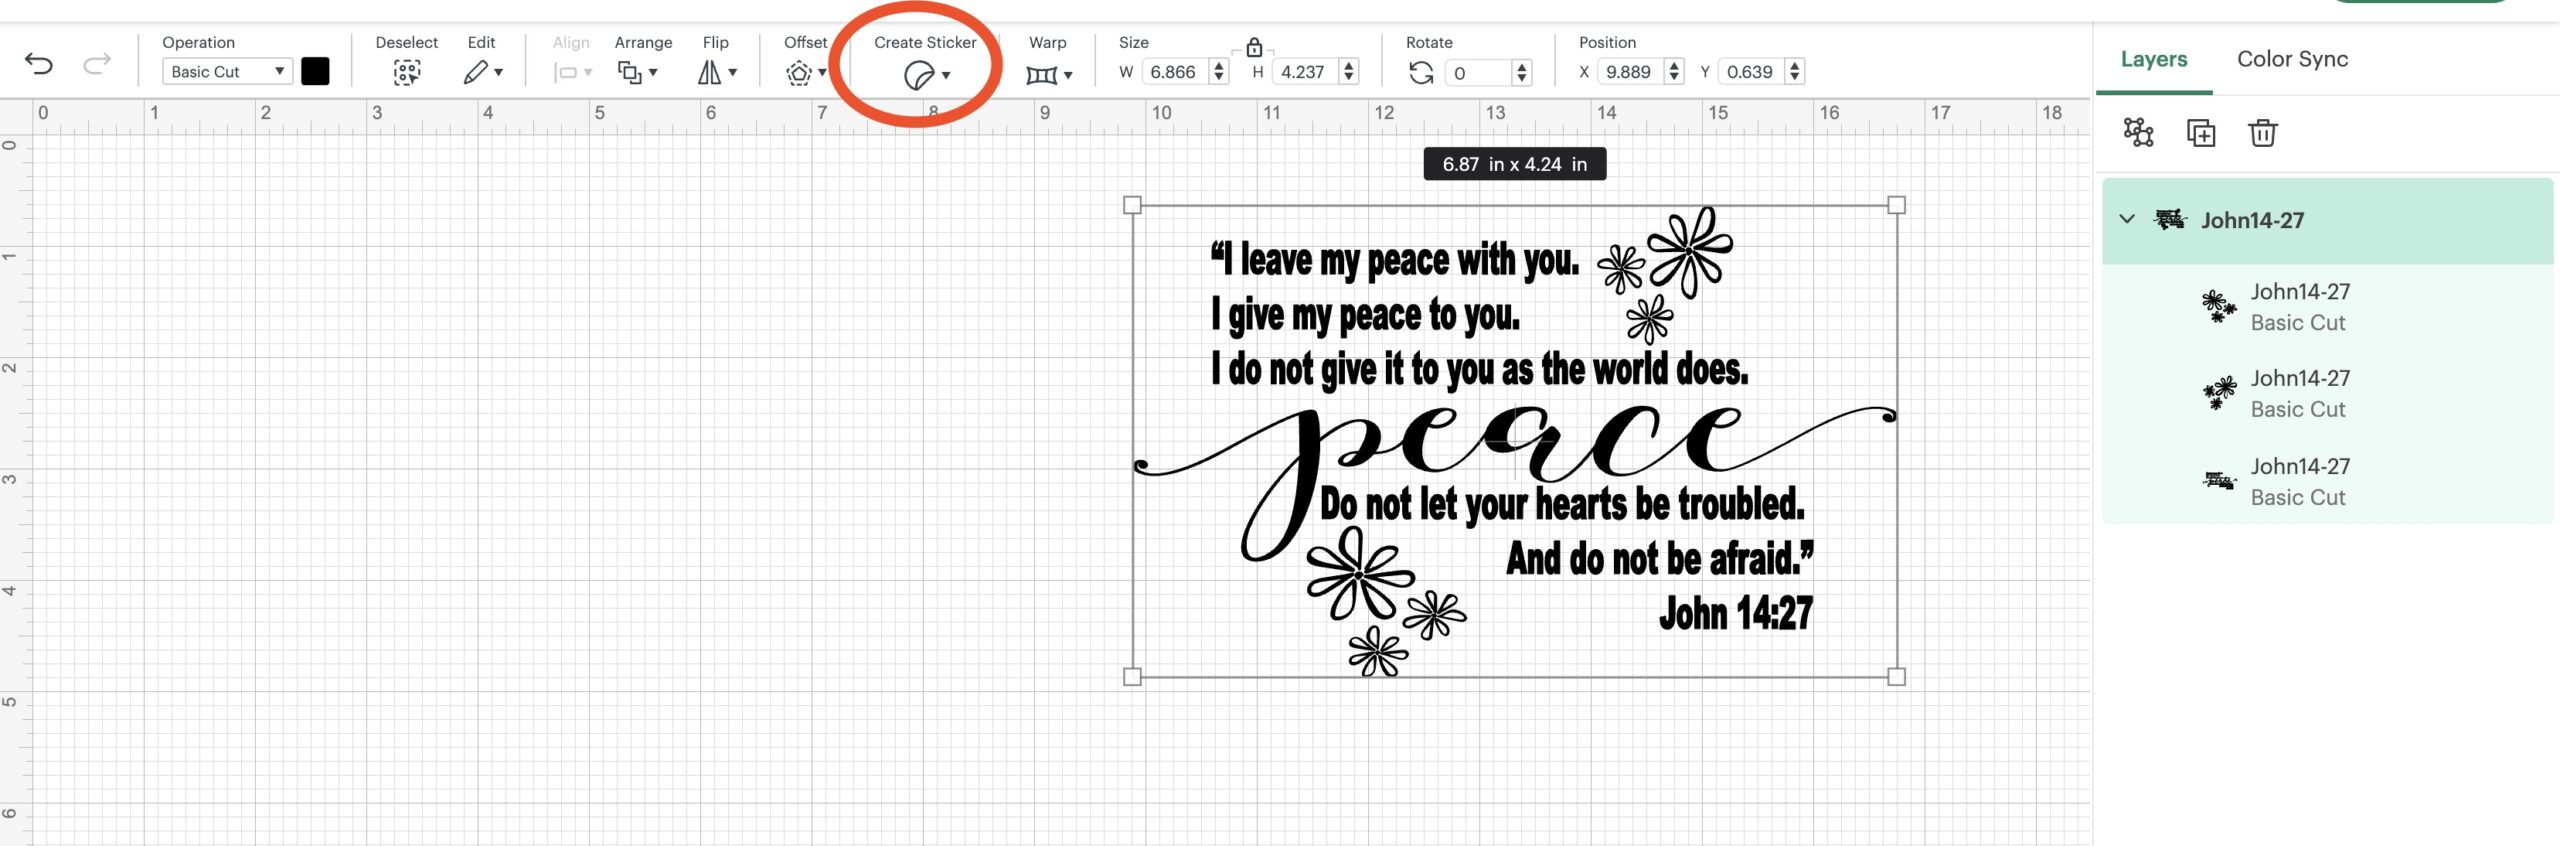
- Select the Design and then click on Create Sticker
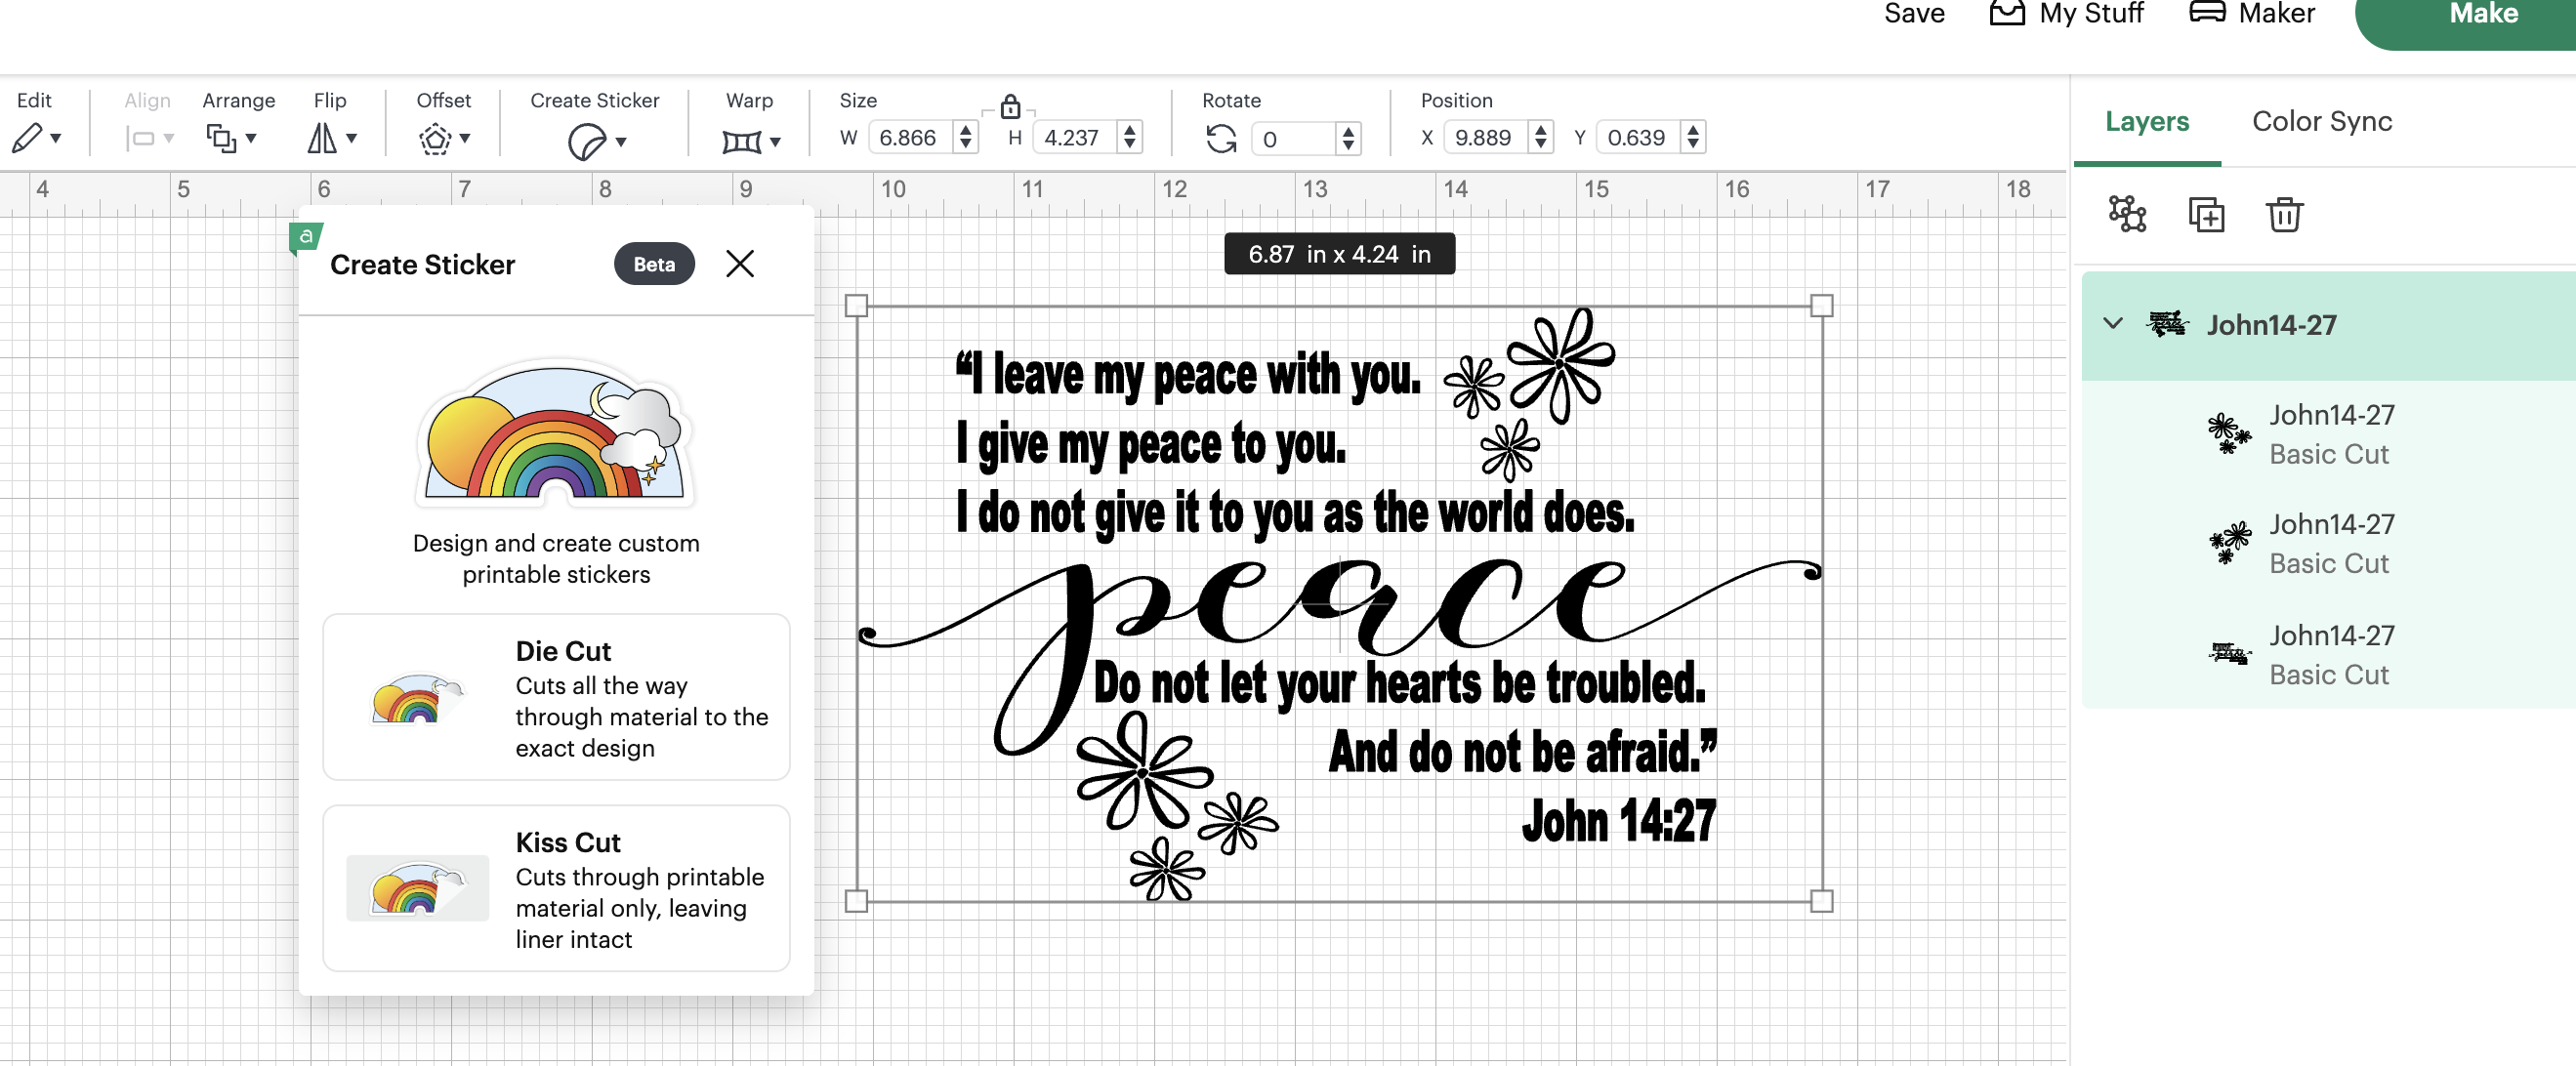
3. Choose either Die Cut or Kiss Cut
-
- When using die cut, the material is cut all the way through to the exact design. For instance, if you’re creating a sheet of stickers with multiple designs, each individual design will be cut out.
- A “Kiss Cut” is a type of cutting process that only cuts through the printable material, while leaving the liner intact. For instance, if you are creating a sticker sheet with multiple stickers, the backing will remain intact and you will be able to easily peel away each sticker from it.
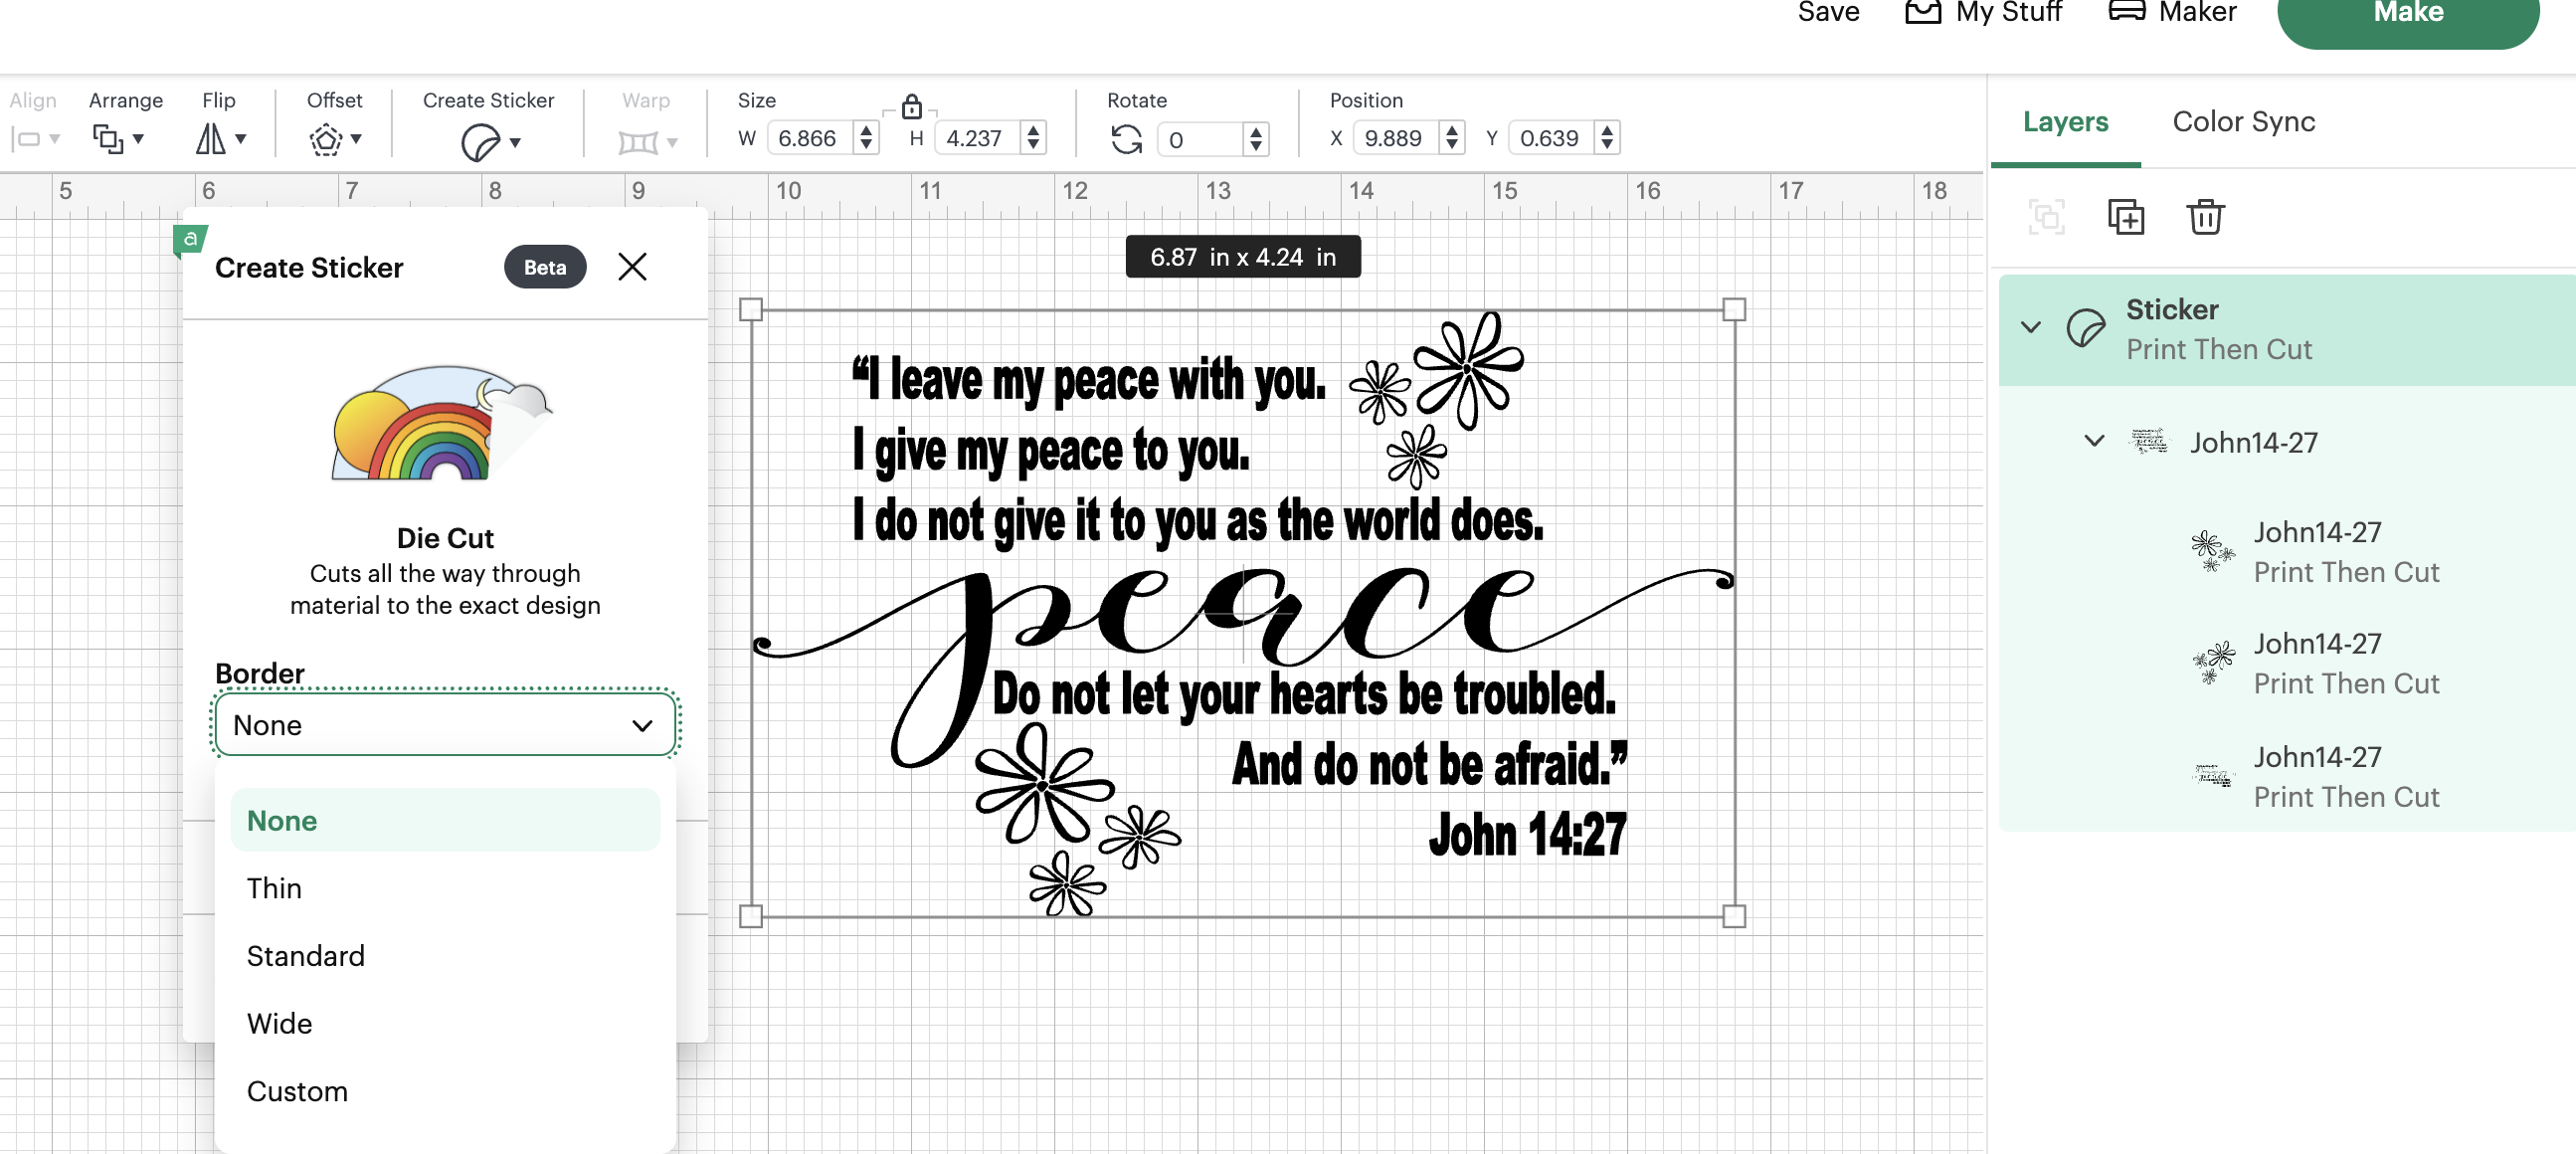
4. After making your cut selection, choose which border you would like. Try them all out and when you find the one you like, choose apply.
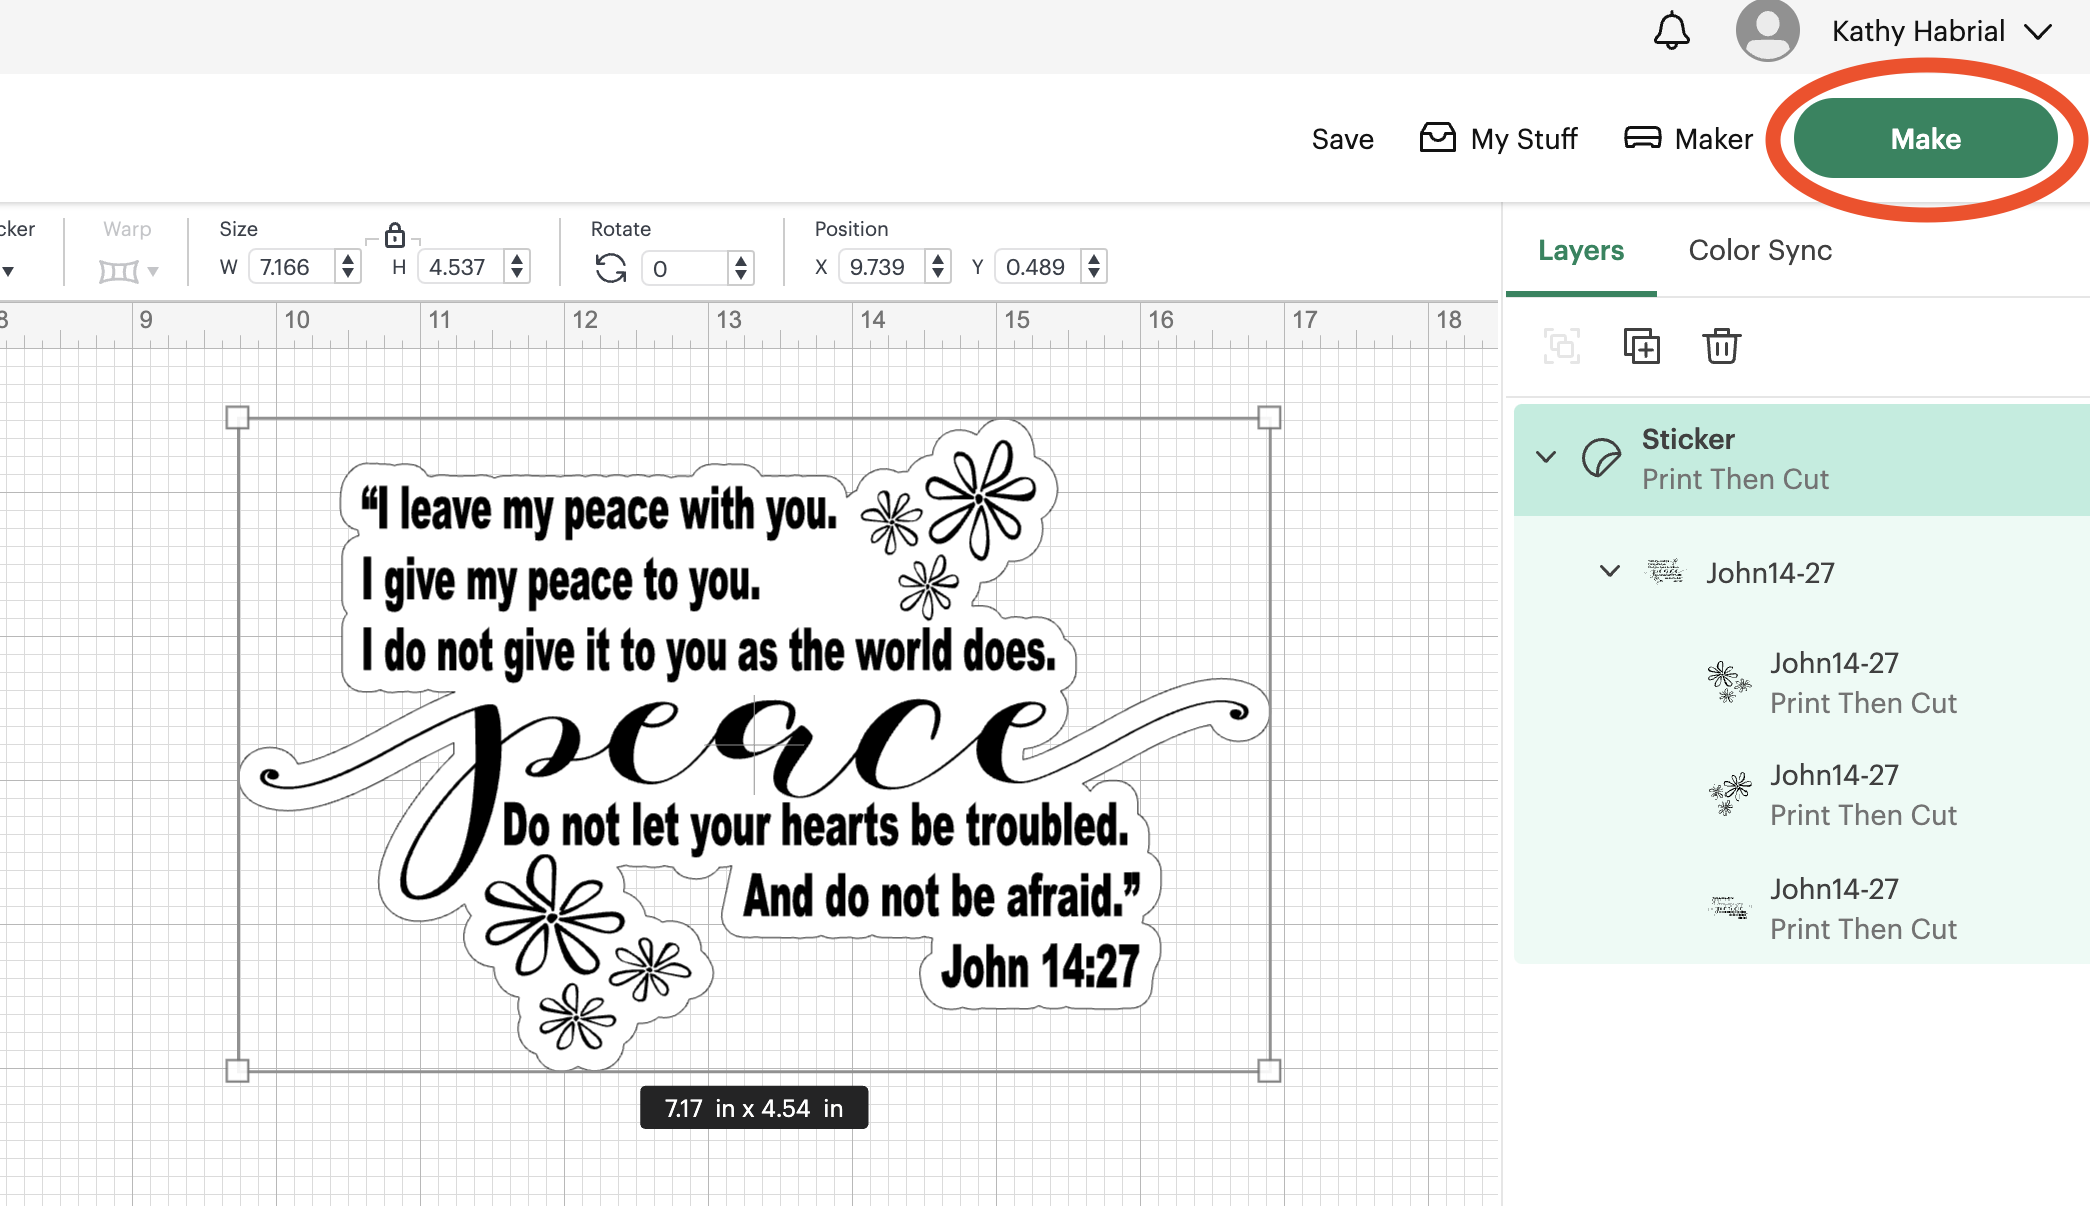
Your sticker is ready to print and cut! Simply select Make, send to the printer, and cut. It’s that easy!
If you are looking for some good sticker paper, I highly recommend JOYEZA Premium Printable Vinyl Sticker Paper. I love that it is vinyl, therefore it does not tear like paper sticker would. However, if you choose to use paper sticker paper, then to protect it, you can add a laminate sheet over the top before you cut your stickers. I purchased these pretty hologram sheets. Also, I use this printer for all my crafting needs. I love that it is top feed especially when I am using cardstock. It doesn’t jam!